Subscribe To Emails
Subscribe to the YourCotton mailing list to receive updates on new arrivals and promotions (about once every 6 weeks)!
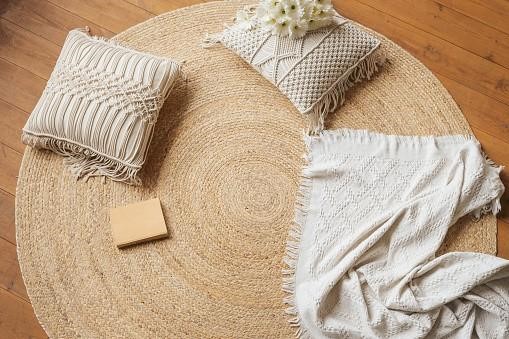
Are you looking for a unique way to spruce up your living room without spending too much money? DIY pillow covers are an easy and affordable way to update any room's look quickly. Don’t be intimidated -- creating custom pillow covers doesn’t have to be complicated or time-consuming. With the right supplies, steps, and creativity, you can make stunning pillows that showcase your style!
This article will show you how to create five different one-of-a-kind custom DIY pillow covers that bring personality and pizzazz into any home.
Here are five easy steps to follow when creating a custom pillow cover:
The first step to making your pillow covers is to gather all the materials and supplies you’ll need. This includes fabric, thread, a ruler, scissors, pins, and an iron. You can also use other decorative elements like lace or ribbon to add texture and dimension to your pillow cover design. Once you have everything on hand, it’s time to start creating.
Before you get started on cutting the fabric for your DIY pillow cover, measure out how much material you need using a ruler. If you plan on making two pillows of the same size, double the amount of fabric you measure. Once you’ve measured, cut the fabric to the size you need. For added durability, you can also hem the edges of your fabric with a zigzag stitch on either side.
Next, pin your two pieces of fabric together at the edges. If you use any decorative elements like lace or ribbon, add these before sewing. A sewing machine or a basic needle and thread works for this part. Then carefully sew the pillow cover together using a straight stitch along the edge. Make sure your stitches are even and secure to hold up over time.
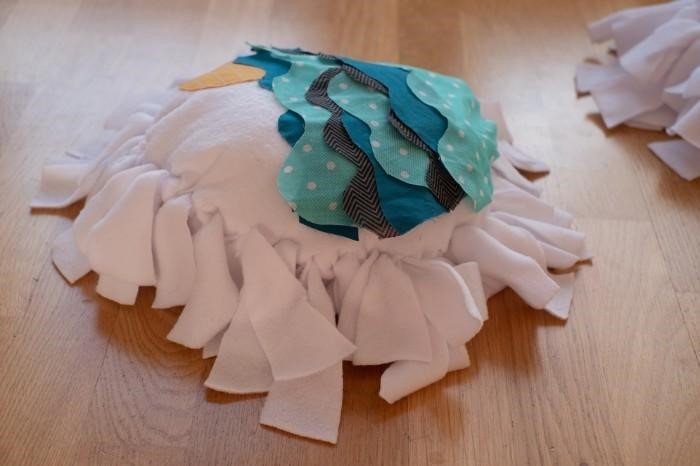
Now it’s time to get creative and add detailing or embellishments to your pillow cover. This could include stitching on a pattern, adding decorative buttons or trim, or painting a design onto the fabric. DIY throw pillow covers offer endless possibilities for customization, so get creative and have fun!
The final step is to stuff the pillow cover and close it up. Place the pillow filling inside the cover and then sew around the edge again using a straight line stitch to ensure that everything is secure. Once this is done, you can fluff out your new custom DIY pillow covers and admire your handiwork!
Creating custom DIY pillows doesn’t have to be complicated -- follow these five simple steps, and you can make beautiful pillows that will bring personality and style to any room.
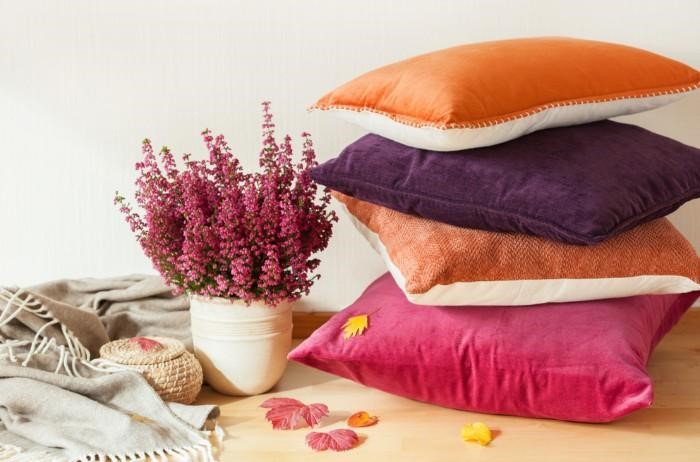
Choosing a suitable fabric for pillow covers can be daunting, but cotton is always a great option. It’s soft and durable with a lightweight feel and comes in plenty of colors and styles, so you can easily find a design that suits your home. As a bonus, cotton excels at allowing air to circulate freely, making cotton a great option for any DIY pillow covers.
Polyester fiberfill is usually the best for filling inside your pillow cover. This type of stuffing is lightweight yet supportive for long-lasting comfort. You could also opt for natural materials like cotton batting or down feathers for a softer feel. Make sure that whatever filling you use is securely stuffed inside the pillow cover.
Creating custom DIY pillows is a great way to give any room an instant makeover without breaking the bank. Follow these easy steps and make stunning pillow covers that showcase your style! With just a few supplies and creativity, you can make beautiful one-of-a-kind pieces quickly and affordably.
Hemming a pillow cover is a relatively simple process that requires only basic sewing skills. First, lay your pillow cover flat and mark the desired length with pins. Next, fold over the excess fabric 1/4 inch and press it down to create a crease for your hemline. Then, continue folding over the edges of the fabric until you reach your desired width for the hem. Finally, stitch the pressed-down fabric down using either an invisible stitch or topstitch to secure it in place. To finish up, trim loose threads and give your pillow cover a final inspection before use.
Yes, you can sew a pillow cover by hand. It is not as difficult as it may sound; with some basic sewing knowledge and patience, you can make custom pillow covers.
To start, you will need fabric for the cover, scissors to cut the fabric, pins to hold it in place while you sew, the thread that matches your fabric color, and a needle to do the stitching.
To make your one pillow cover by hand, measure and cut out two pieces of fabric slightly larger than the pillow form (or pillow insert). Pin the right sides of the fabrics together with straight pins at all four corners of both fabrics. Then carefully stitch around three edges of the fabrics using a simple running stitch or backstitch. Once you have finished stitching the three edges, remove any pins and turn the pillow cover inside so that all seams are hidden.
Custom DIY pillow covers are a great way to instantly update any room without spending too much money. Whether you’re a beginner or an experienced sewist, these five easy steps will help you create beautiful, unique throw pillows that showcase your style.
YourCotton’s high-quality cotton fabrics come in a variety of designs and colors that allow you to make great pillow covers to fit any room.
With the right supplies, patience, and creativity, you can make stunning pieces in no time! Good luck with your project, and have fun creating!