Subscribe To Emails
Subscribe to the YourCotton mailing list to receive updates on new arrivals and promotions (about once every 6 weeks)!
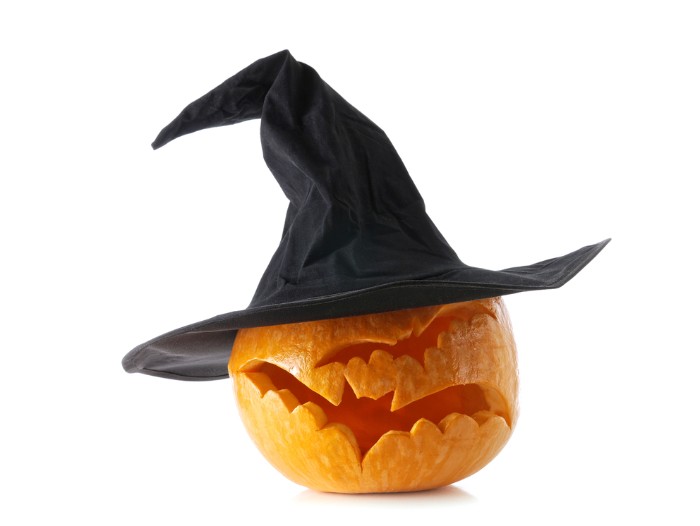
Whether you’re a beginner sewer or an experienced crafter, it is possible to bring your style and flair with suitable materials and guidance. Each project requires its unique skill set, but quilting has become increasingly popular as a stylistic choice and stress relief. Today we will show you how easy it is to DIY your own witch hat quilt pattern from scratch! With our step-by-step guide and the perfect combination of fabrics, textures, decorations, and stitches - isn't there nothing we can't create? Let's begin making this fantastic Halloween-themed piece together!
A witch hat quilt pattern is a trendy and easy-to-make design. It consists of a base fabric, usually plain black cotton or similar material, which is then layered with bright and bold fabrics in the shape of a classic witch hat - complete with its iconic brim! The decorations may be as simple or complex as you'd like, from buttons to beads, patches to pompoms – whatever you choose will bring your piece together. Witch hat quilt blocks can be arranged in any pattern, making this project as individualized as you'd like. The Halloween haberdashery quilt pattern is a great way to show your holiday spirit in style.
• Fabric – 2 yards of black cotton fabric for the base
• Thread – 6 spools in assorted colors
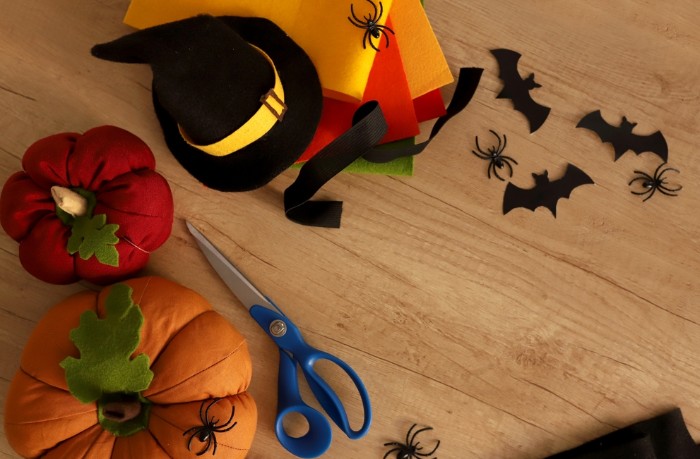
• Decorations– buttons, ribbons, beads, feathers, etc.
• Batting – 1/2 yard of batting or lightweight fabric
• Ruler – a ruler for measuring and tracing lines
• Scissors – fabric scissors are essential
• Pins – to hold your fabric in place while sewing
Here we go - time to get sewing!
1. Start by cutting out the pieces for your witch hat quilt pattern using the ruler and scissors. The main piece should be three rectangles, one large rectangle for the hat's brim and two smaller ones that make up the top part of the hat. You will also need to cut several strips of fabric to create a ruffle effect on the brim - these can vary in thickness and width, depending on the effect you want.
2. Once all the fabric pieces are cut out, it's time to start assembling the hat! Place the brim piece onto a flat surface with its right side up and begin pinning one of the smaller rectangles to it for them to stay together as you sew. Make sure any decorations or embellishments are placed in their desired positions before moving on.
3. Now for some stitching! Take your thread and start sewing along the pinned edges of both pieces using a zigzag stitch. This will ensure that your hat is secure and keeps its shape while being washed or worn. When finished, remove all pins and turn your witch hat right side out - add batting or lightweight fabric for extra warmth and structure.
4. Continue layering your witch hat quilt pattern with strips of fabric, alternating colors and lengths to create the desired ruffle effect on the brim. Pin all pieces securely before sewing them together, using a straight stitch along each seam line. Make sure to use solid and tight stitches for maximum durability!
5. Finishing touches - add any decorations you desire to complete your witch hat quilt pattern, from beading, buttons, ribbons, and lace – these will give it a unique look that is truly yours!
Witch hat quilt patterns are a great way to make unique and fun projects. The best fabrics for these quilts are lightweight cotton, muslin or calico, flannels, and patchwork prints with Halloween colors like orange, purple, black, and green. For easier care and washing, you can use wool with a more luxurious feel or synthetic fibers like polyester. If you want to get creative, you can use velvet or jacquard designs to add texture to your finished piece.
Remember that the thinner the fabric is, the easier it will be to sew with - so choose wisely! Whatever fabric you choose, ensure it’s pre-washed before using it in your quilt project. That way, you’ll be able to ensure that the colors don’t bleed and your finished piece looks exactly as it did when you began. For a traditional look, fabric with witch hats, pumpkin quilt blocks, owls, or bats are excellent choices for your quilt. If you like something more modern or abstract, consider using geometric prints or solids with interesting textures instead.
The traditional witch hat quilt pattern usually consists of a large center triangle with smaller triangles arranged around it. However, many variations of this classic design can be used to make stunning and unique quilts. These variations may include changing the size and shape of the center triangle or adding additional elements such as stars or circles. Other variations can also involve changing the arrangement of the triangles, like piecing them together in an offset pattern or making zig-zags to form a more complex design. Additionally, fabrics and colors can be selected to give each Halloween quilt a one-of-a-kind look.
Creating a witch hat quilt pattern is an enjoyable and creative experience. It requires careful planning, precise cutting, and precise stitching, but it will be worth the effort in the end! Whether you use traditional fabrics or something more modern and abstract, this project will make any space feel cozier when finished. So don’t wait - get out your sewing machine and start creating your unique witch hat quilt pattern today!