Subscribe To Emails
Subscribe to the YourCotton mailing list to receive updates on new arrivals and promotions (about once every 6 weeks)!
Have you ever wanted to learn how to sew a shirt from scratch? If the answer is yes, then look no further! This comprehensive step-by-step guide will show you everything you need to know to make a stylish and comfortable shirt. Whether it's your first time sewing or you are an experienced seamstress, this guide will take you through all of the essential steps needed to make a beautiful handmade garment. We'll explain what fabrics and materials to use, discuss tips on pattern selection and tailoring techniques as well as give detailed instructions so that by the end of this tutorial, you will have your very own finished top-notch button-up shirt. So grab your supplies, and let's get started!
Choose The Right Fabric
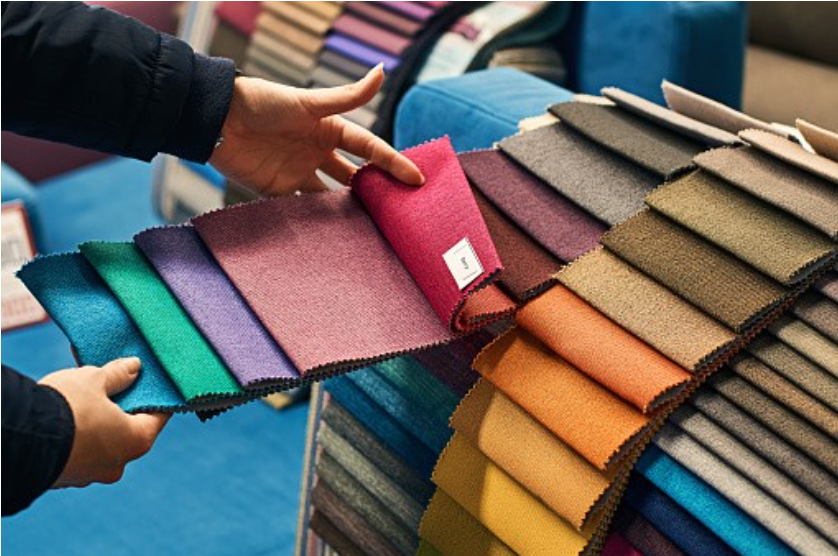
Sewing a comfortable, stylish shirt from scratch can be overwhelming at first, but with the right fabric and tools, the process can be satisfying. When starting out, opt for fabrics like jersey knit fabric or ribbing as they are soft and easy to work with. Additionally, cotton fabric works great for a basic T-shirt design.
As you follow the instructions, remember to keep in mind the collar stand – the part of the collar that stands upright when the collar is worn open. Also, pay attention to the seam allowance, which will influence how tight your shirt collar sits against your body. Once you start putting together your basic T-shirt pattern, it's only a matter of time until you have all components in place and ready to wear!
Find A Simple Sewing Pattern
A great place to start when learning the basics of sewing a shirt is looking for a basic pull-over shirt pattern that doesn’t require buttons or too many seams. When you find the right sewing pattern, look out for collar stand pieces, which are essential in achieving a neat collar.
You should also know that collar stand and collar pieces come in two parts: inner collar stands and collar stand seam. With these two key components and some patience, anyone can create a stylish T-shirt with the finest details, like a pocket or V-neckline finish.
Keep The Fabric Flat
Knit fabric is incredibly stretchy, and it can be difficult to work with, but there are some helpful tips that you should keep in mind when measuring, cutting, and sewing. Keep your fabric flat when measuring your collar stand piece, seam allowances, and sleeve seam. Make sure you're cutting with scissors rather than fabric shears, as this will help to maintain the integrity of the edges. When piecing together pattern pieces, stick to straight stitch only—any stretch stitch may distort the collar points and throw off your measurements. With a little practice and care, you'll fly through knit projects in no time!
Use Sharp Tools

It’s essential to use sharp fabric scissors when sewing t-shirts and other garments. Cutting with dull scissors will often result in a frayed edge or cuts that are not straight and precise – a significant factor when cutting out t-shirt pattern pieces.
You also want to ensure that the folded edge is kept as taut as possible before you cut – this helps ensure a neat line. Similarly, it’s important to replace the needle on your sewing machine every few projects – a blunt needle can cause puckering or wonky stitches. Taking these simple steps ensures that t-shirts are sewn up quickly and accurately.
Fabric
Pattern
Sewing Machine
Sewing Tools
Iron
Prepare Your Workspace
Create an efficient workspace by making your tools, fabric, and pattern easily accessible. Unfold the material onto your work surface so it is flat without any overhang - ensure that the underside of the fabric is visible. For further protection on surfaces from pinpricks or cuts, consider placing a mat underneath for extra security.
Pin And Cut Out The Pattern
Take your pattern pieces, arrange them on the fabric you are working with, and secure them in place with pins. Trace each piece onto the material using the tailor's chalk guidance; cutting around it leaves a half-inch allowance on all sides per the blueprint.
Sew The Shoulder Seams
Align the front and back pieces of the shirt with their edges overlapping, ensuring that both sides of the fabric are facing outward. Securely pin together each shoulder piece before setting up your sewing machine to start stitching these two sections together. When finished, you now have a connected garment!
Make The Neckline
Gather the strip of fabric you cut for the neckline and sew it together to form a loop. Next, open your front and back pieces like a book so they lay flat with the neck hole in perfect alignment; then pin your newly formed neckband onto this opening. Finally, stitch around the circumference of this inner circle to secure it tightly to your garment.
Add Sleeves
To ensure a complete circle at the neckline, lay your T-shirt out flat on a workspace. Pin one sleeve to its respective shoulder so it lays over the shirt like all other fabric parts. For added security and comfort, place seam allowance underneath each shoulder for covered raw edges. After affixing pins from either side of every armhole until you reach both pieces' endpoints, sew them in where pinned before repeating with the remaining sleeve for completion.
Finish The Sleeves And Close The Sides
First, grab your T-shirt and fold it half lengthwise, so the front panel is on top of the back one. Make sure the inside part of the shirt is facing outwards. Place it down flat on a workspace, then, leaving both armholes open, add pins along each side from underarm to bottom hemline. Start by sewing up one side to create an even seam; repeat this process for the other side. Now you’re ready to rock that stylishly tailored look!
Hem The Bottom And Sleeves

To finish off your T-shirt, start folding the bottom edge twice to conceal any raw edges. Utilize an iron for a smooth press before stitching along the hemline. Repeat this same step on each sleeve and then turn your shirt right-side out! You're all done with this creative project!
If you follow these steps, you will have a shirt that fits well and looks great. Sewing your clothes can be satisfying and save you money. Now that you know how to sew a shirt, give it a try!